How to Build an Elevated Overhead RCC Water Tank Stand
If you're planning to build a water tank stand for your home or project, this simple step-by-step guide will walk you through the entire process.
STANDS FOR WATER TANKS


Table of Contents
Introduction
What is a Water Tank Stand?
What is the Best Height for an Overhead Water Tank?
What Type of Foundation is Used for Elevated Water Tank Stands?
Major Materials Required to Build a Water Tank Stand
Step-by-Step Guide to Build an Overhead Tank
Step 1: Marking and Excavation
Step 2: Concrete Blinding
Step 3: Steel Bending and Steel Fixing
Step 4: Pouring Concrete for Base and Beam
Step 5: Column Steel Work
Step 6: Cast Concrete for Beam and Columns
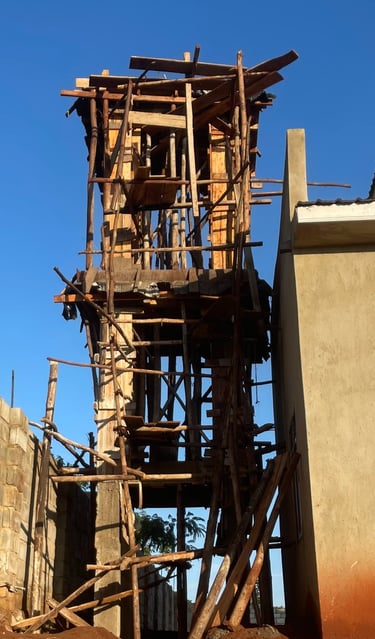
Step 7: Formwork for the Columns and First Slab
Step 8: Cast Concrete for First Slab
Step 9: Formwork and Steelwork for Second Slab
Step 10: De-shuttering and Plastering the Stand
How High Should a Water Tank Be Elevated?
Frequently Asked Questions
How Much Does It Cost to Build an RCC Overhead Water Tank Stand?
Conclusion
Introduction
In this article, I'm going to share with you a simple step-by-step guide that you can follow to build an elevated or overhead reinforced concrete water tank stand. From excavation to steel fixing and concrete casting, you'll learn how to build a strong and elevated RCC tank stand that provides the required water pressure to your house.
What is a water tank stand?
A water tank stand is a structure constructed to elevate water above the ground with the main purpose of creating the required water pressure so that water can flow easily to showers, toilets, taps in houses
What is the Best Height for an Overhead Water Tank?
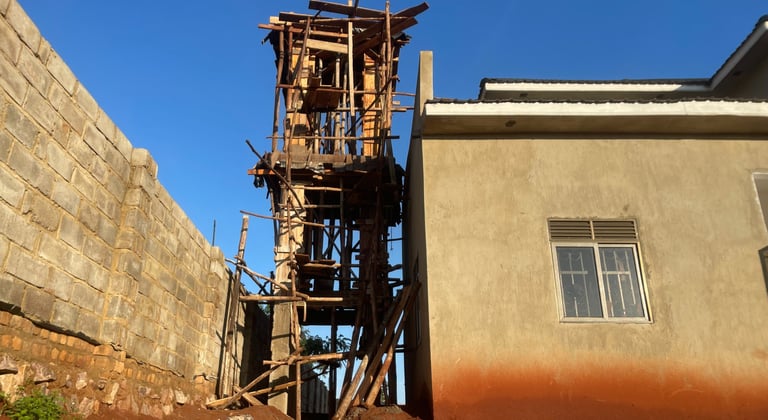
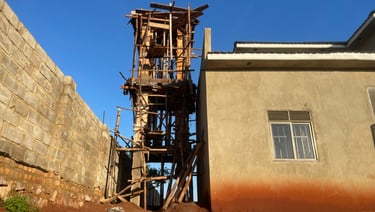
The water tank is elevated to a height that is able to create enough pressure due to gravity. The tank base or slab should be positioned at 1m above the slab or roof.
Example: if the stand is for a 2 level house like the one we are using in this article, the first slab should be located 1m above the slab level on top, and then the next slab should be 1m above the the eave level or above the fascia board
If the house is a bungalow, the slab where the tanks are going to sit should be 1m above the gutter level or above the eave
This height is enough to provide the required pressure to enable water flow seamlessly in the house
Major Materials Required to Build a Water Tank Stand
Steel bars (Y12 and Y16 and rings)
Lake sand
Cement
Aggregates
Timber for formwork
Vertical supports or poles
Binding wire
Polythene sheeting (DPM)
Nails
Step-by-Step Guide to Build an Overhead Tank
Step 1 Marking and excavation


Set out the foundation layout and excavate the pits for each column. when the columns are so close to each other, its advisable to excavate all the small pads as one so that we can have a single pit
When the stand is just small, say 6ft apart from one column to another, there's no need to excavate separate pits for each column, and in this case we excavate it a a whole
Step 2: Concrete Blinding
Cast a 50mm thick concrete blinding at the bottom of the pit. Concrete mix ratio 1:3:6
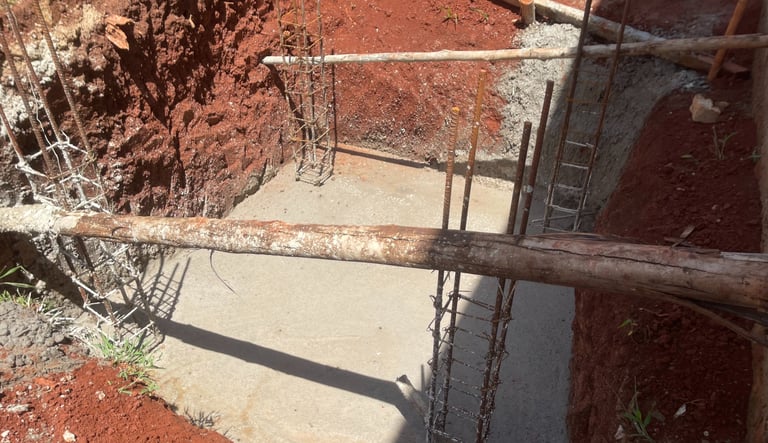
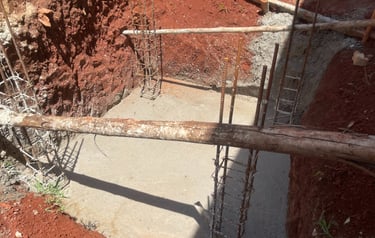
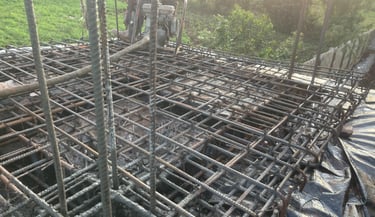
Step 3: Steel Bending and Steel Fixing
In the base or foundation, we are using steel bars of Y12 and then Y16 for the column starters. For this particular tank stand, we are choosing a design with the beam sitting exactly at the top of the base
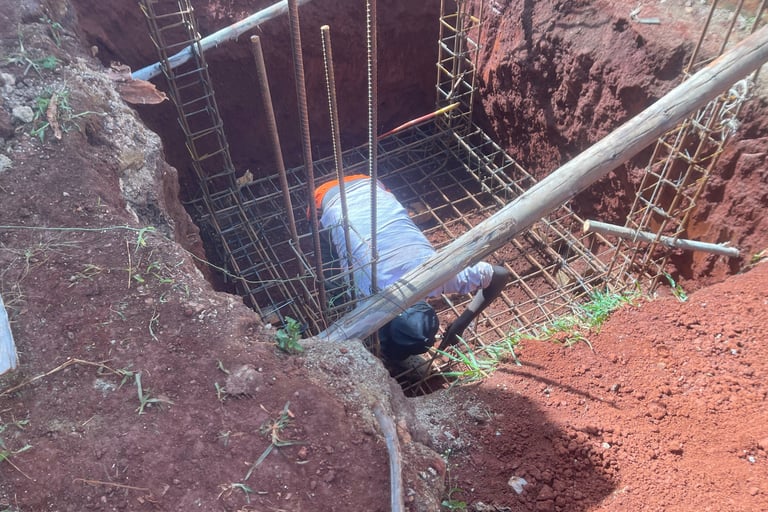
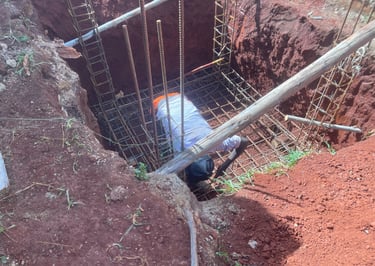
Step 4: Pouring Concrete for Base and Beam
Pour concrete to cover both the base and the the beam to cover the entire foundation
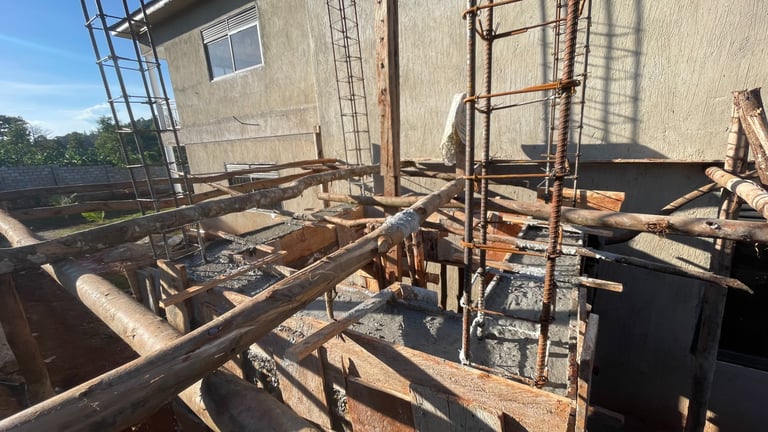
Step 5: Column Steel Work
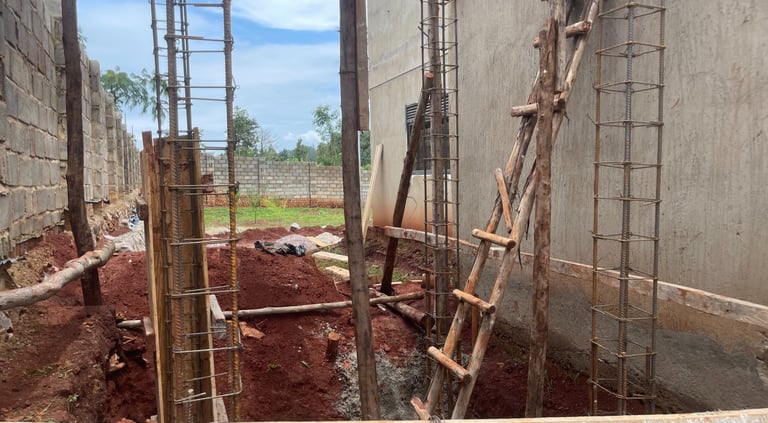
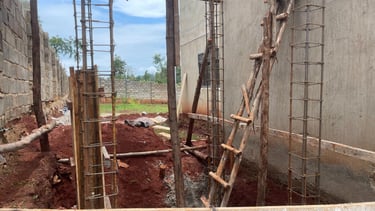
Do steel bending and steel fixing for the columns. we are using steel bars of y16 and rings of R8 at a spacing of 150mm centre to centre
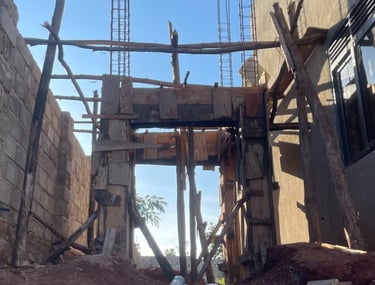
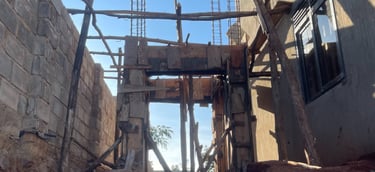
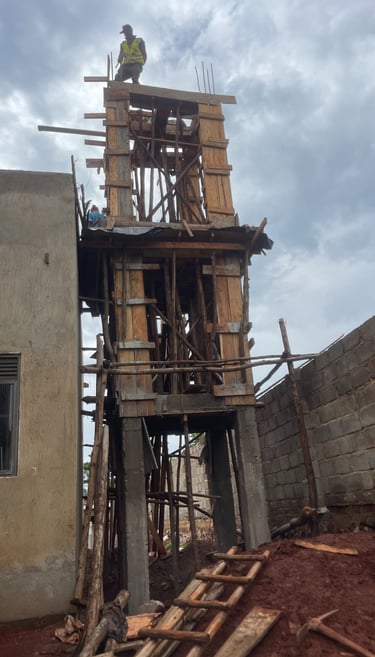
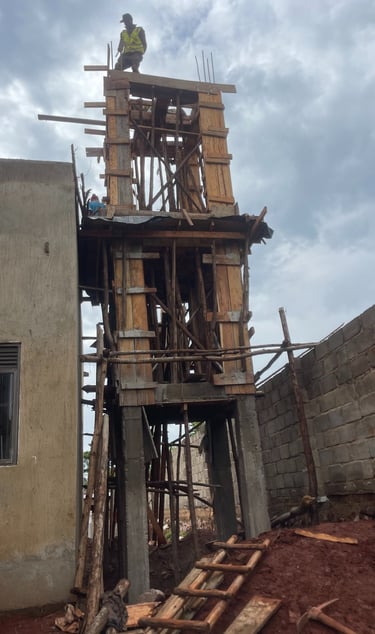
Formwork or shuttering for the columns and the first beam
There should be a beam between the ground level and the first slab above the roof to prevent buckling. You must position this beam in a way that someone can pass under the stand without being hindered by anything or that part can be used as a toilet outside the house or outside a store or kitchen or any other place. And that simply means that that beam will be at 7ft from the finish ground level or the level of pavers
Step 6: Cast Concrete for Beam and Columns
We cast concrete for the beam and column at the same time. Concrete mix ratio as 1:1.5:3

Step 7: Formwork for the Columns and First Slab
when doing formwork for the sab, be sure it exceeds 300mm outside the columns to provide enough space where the tanks will be sitting
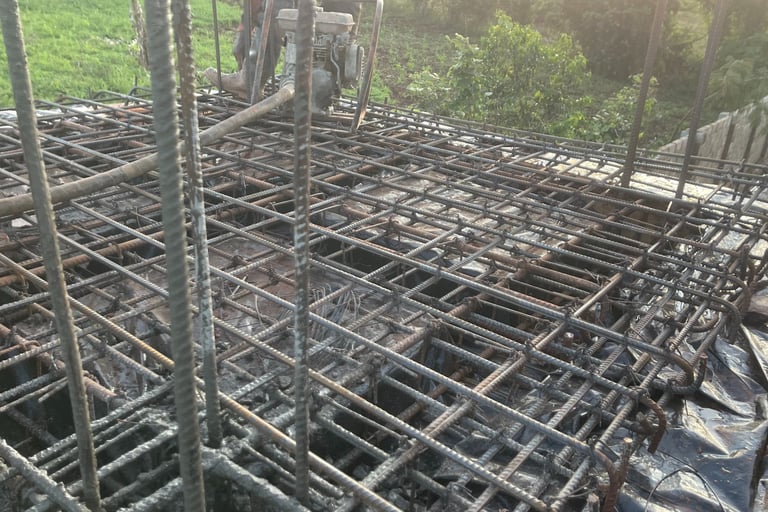
Formwork and steelwork for the slab
For all down beams supporting the slab, we are using Y16 steel bars all around the slab and also a crossbeam in the middle of the slab
We are also using a double matt reinforcement for the slab. We are also using steel bars for the the slab
When doing steel reinforcement, fix steel bars in the slab where guard rails will be welded
Step 8: Cast Concrete for First Slab
Step 9: Formwork and Steelwork for Second Slab
Cast concrete for the slab; we are using concrete mix ratio 1:1.5:3
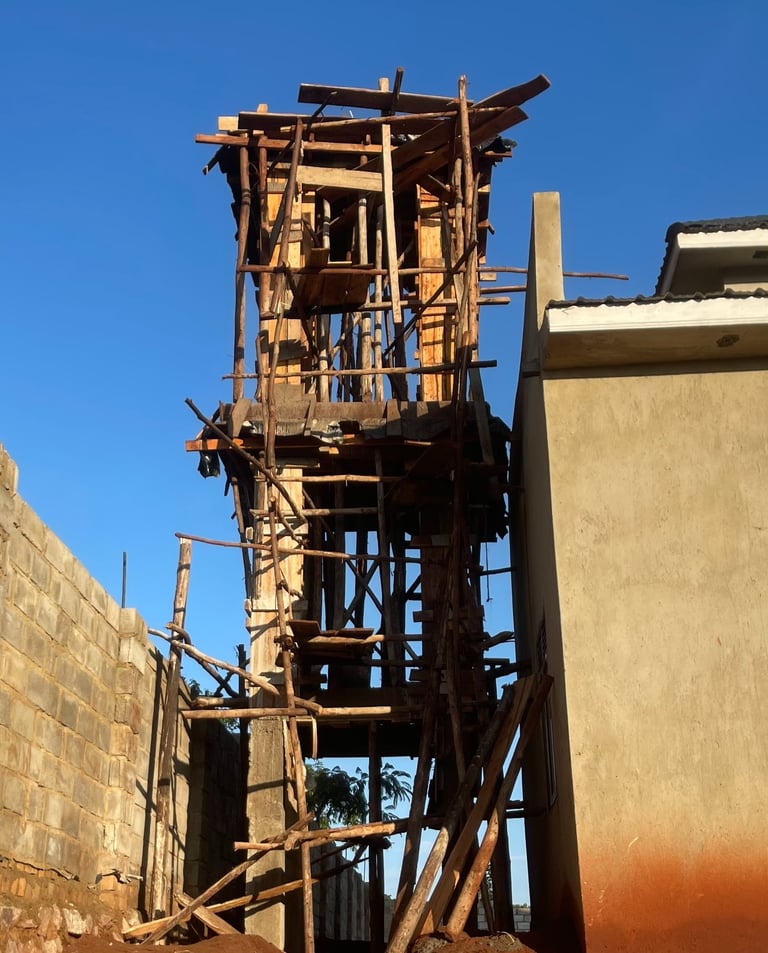
You now have to repeat the same procedure until you reach the number of slabs you want. You simply have to ensure that the slab where the tanks will be sitting are 1m either above the slab or eave level to provide the required pressure for water being used in the house
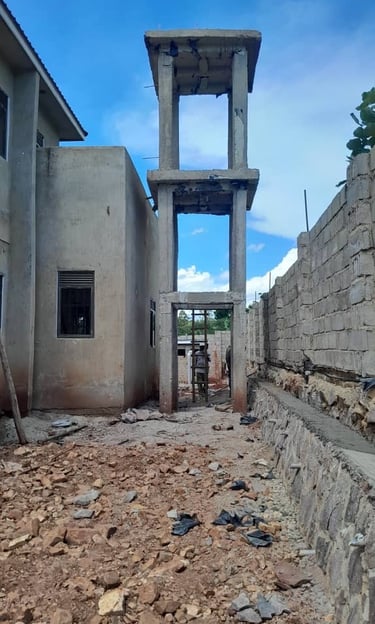
Step 10: De-shuttering and Plastering the Stand
After 28 days, remove all the timber pieces, do plastering finishing, install access ladders for the stand and place the tanks ready for use

Frequently Asked Questions
How much does it cost to build an RCC overhead water tank stand?
The cost will entirely depend on its size. considering only 4 columns To have a strong, reliable stand consider that every level will cost you around 1300 usd including material and labour
So example if you have a house with the ground floor and the first floor, that’s 1300 x 2 to get 2600 usd
Conclusion
Building an overhead RCC water tank stand is the best way to provide water pressure in your home. By following this simple step-by-step guide from excavation, steel fixing, and concrete casting to plastering, you can build a strong, reliable, and long-lasting elevated tank stand.
Make sure your tank is raised at least 1 metre above the roof or eaves to ensure steady water flow. Whether it's for a single- or double-storey house, using the right materials and proper construction methods will give you a safe and efficient water tank stand that serves you for years.