How to Build a Brick Water Tank Stand: A Step-By-Step Guide
In this post, you are going to learn how to build a strong brick wall base for a water tank
STANDS FOR WATER TANKS
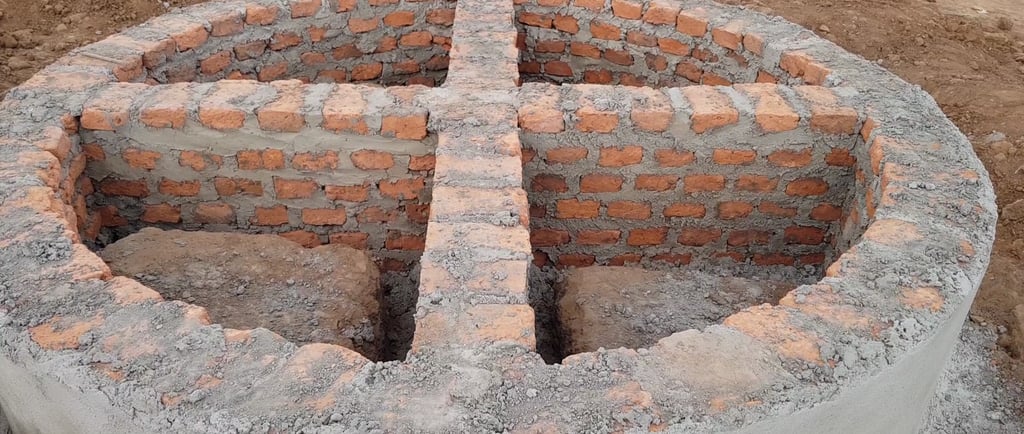
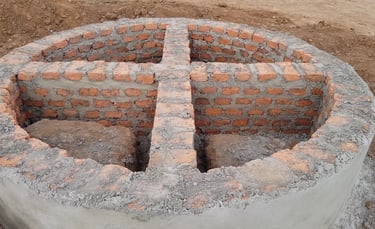
Table of Contents
1. Core Concept or Idea
2. Steps to Build a Brick Water Tank Stand
Step 1: Measure the Tank's Diameter
Step 2: Site Clearance and Set Out the Foundation
Step 3: Cast Strip Concrete at the Bottom of the Foundation
Step 4: Build a Brick Wall
Step 5: Exterior Rendering and Backfilling
Step 6: Lay Hardcore and Sand Blinding
Step 7: Add DPM, Steel Reinforcement, and Formwork
Step 8: Pour the Top Concrete Layer
Step 9: Place Your Water Tank
Frequently Asked Questions
Core Concept or Idea
In this post, you are going to learn how to build a strong brick wall base for a water tank.
As a civil engineer with years of experience in building WASH water projects, the method that I’m about to show you in this post is better because you use locally available raw materials, you use low capital costs and low maintenance costs, and it is so simple that it can be understood by everyone.
Steps to build a brick water tank
Step 1: Measure the tank diameter. The first step during the process of building a brick water tank stand is to measure the diameter of the tank which we intend to build its base. If it’s a four-sided tank, we first measure the 4 sides of the tank and note down the dimensions on paper. In this particular post, we are going to use an example of circular tanks which are commonly used here in my country.
These tanks can fill a total of 10,000 litres and are 2.4 m diameter
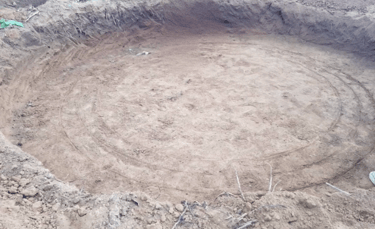
Step 2: site clearance and Set out the Foundation
Remove top black soil note exceeding 300mm below the ground level and dispose away from site. The next set is to set out and excavate for the foundations of the base wall. Excavate up to the hard soil which varies from one place to another.
The soil is usually reddish brown When excavating for the base wall be sure to add extra 300mm allowance for example if the tank is 2.4m, add extra 300mm to make it 2.7m therefore the external surface diameter will be exactly 2.7m make circular lines on the ground showing exactly where your bricks will be placed to avoid mistakes of misplacing the correct positioning of the bricks these lines also act as guides when casting strip concrete before placing the bricks. When excavating, there are two approaches
Partial Dig: Only excavate where the walls will go

Full Dig: Excavate the entire internal area.

Personally, I prefer the second method. It may require more marrum backfill, but it gives you more workspace and also builds smart work. Which one works best for you?
When positioning a reservoir tank, you have to keep in mind that if you're setting this up in a home, feel free to place it wherever works best. And if the reservoir tank is meant to supply water to a community, keep the tank 4 meters away from the main water distribution line. Ensure it's 3 meters from the tap stand where people collect water from. Apply anti-termite treatment to the sides and bottom of the excavated area to prevent the effect of termites.
Step 3: Cast strip concrete at the bottom of the foundation.
The concrete will be of grade 15: you can use a mix ratio of 1:3:6, which is 1 part of cement, 3 parts of sand, and 6 parts of aggregates cast in strip concrete to receive brick walling.
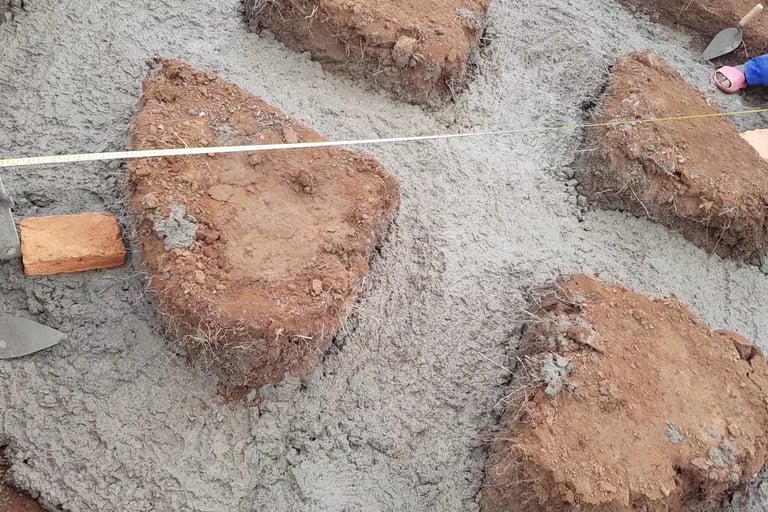
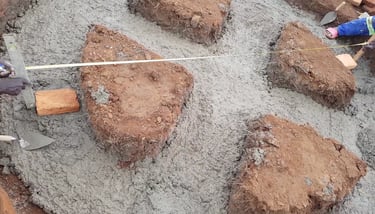
Example For this particular tank size of 10,000 litres and 2.4 m in diameter, at this stage, we use exactly 2 bags of cement. 6 flat wheelbarrows of sand 12 flat wheelbarrows of aggregate
Spread this mix over the entire foundation to form an even base.
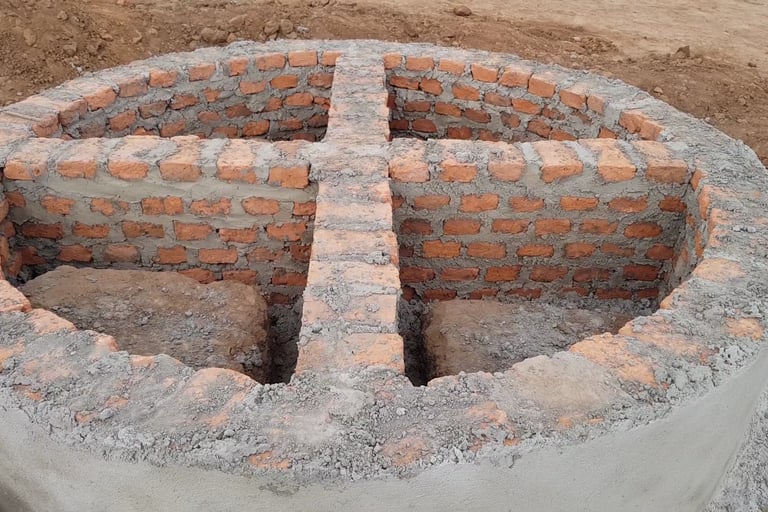
Step 4 is to build a brick wall.
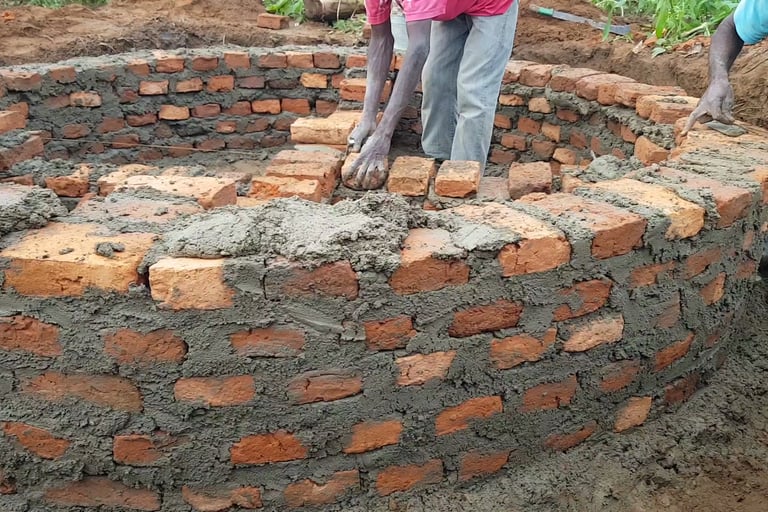

Build a brick wall using well-burnt clay bricks with a mortar mix ratio of 1:4, which is 1 part of cement and 4 parts of sand, with a wall thickness of at least 200 mm.
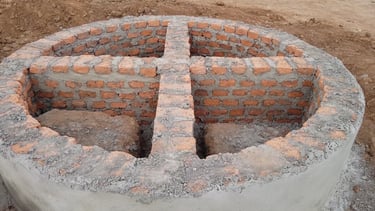
We build the diameter of the wall depending on the diameter of the tank, and for this particular example, the tank is 2.4 m in diameter, meaning after adding an allowance of 300 mm, the diameter of the wall is 2.7 m when measured from the external outside surface; it must have a cross wall in the middle.
For this step, you'll need: Considering that the wall is 800mm high for 8 courses, we use 544 bricks total.
I counted these one by one, and they were exactly 544. Though you will need to add more for breakages and wastage. For mortar, use a mix of 1 part cement to 4 parts sand. We normally use 3 bags of cement at this stage to build the wall.
Step 6: Exterior Rendering and Backfilling
Once the walls are up, you'll need to render the mortar mix here; it should again be 1 part cement to 4 parts sand. Apply black bituminous waterproofing paint to the external surface of the walls.
Backfill both inside and outside the wall area. We also backfilled the base using 1.1 cubic metres of imported marrum around the exterior walls.
Make sure to compact the murram in layers.
Step 7: Lay Hardcore and Sand Blinding
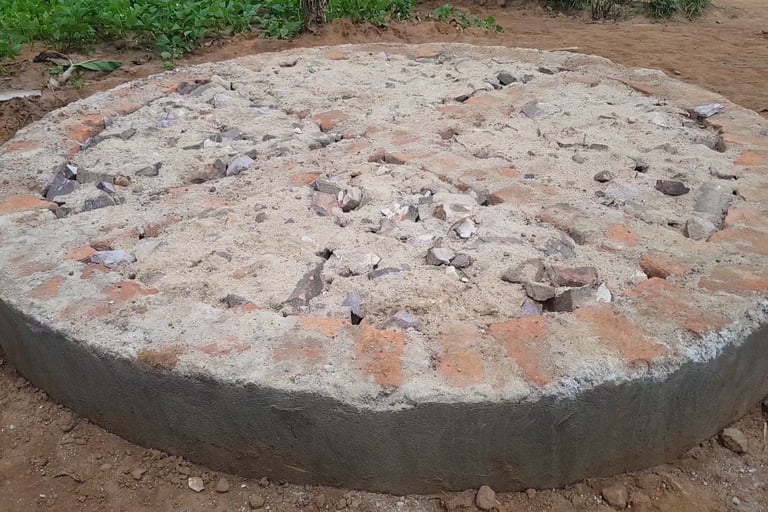
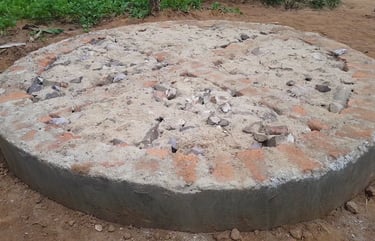
After compacting the marrum, lay down a layer of hardcore inside the base not exceeding a depth of 200 mm.
We used 0.5 cubic meters of hardcore for this step. After laying down the hardcore, do a layer of 50 mm thick sand blinding so as to make the next concrete pour smoother and more level.
Step 8: Add DPM, Steel Reinforcement, and Formwork Time to reinforce the structure with some steel. Lay down a DPM (damp-proof membrane) followed by a steel mesh (BRC) across the area. For formwork, you can use plywood or a metallic sheet or something else able to fold in a circular shape.
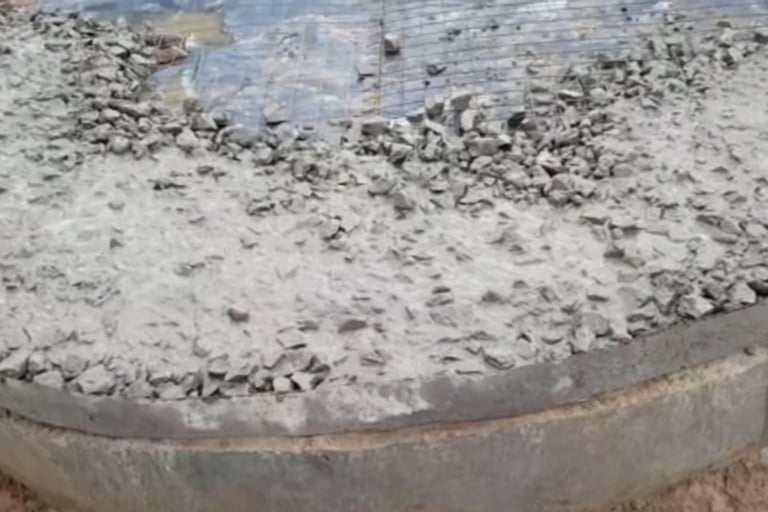
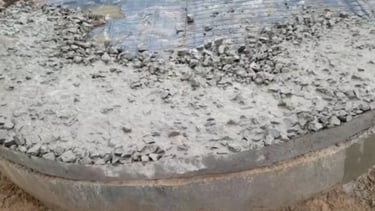
Step 9: Pour the Top Concrete Layer Cast a 75mm thick concrete of grade 20 using a mix ratio of 1:2:4, which is 1 part of cement, 2 parts of sand, and 4 parts of aggregates.
For this layer, we normally use 3 bags of cement. Pour this on top of the hardcore layer and allow it to set. Once it dries, render the top edges and apply a rough cast to the exterior for a neat finish.
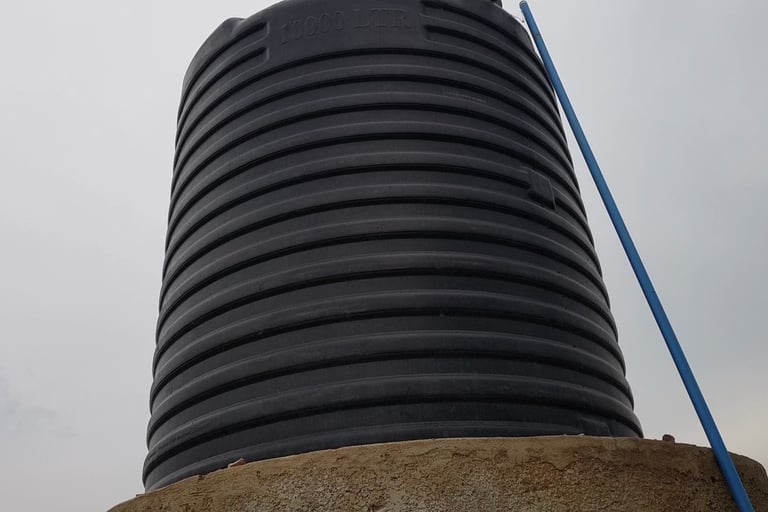
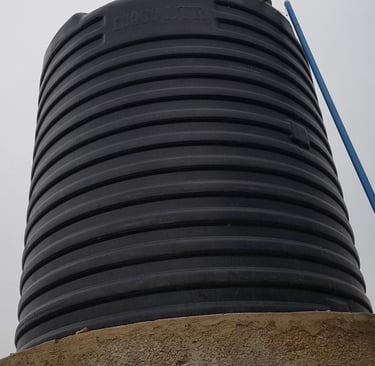
Step 10: Place Your Water Tank
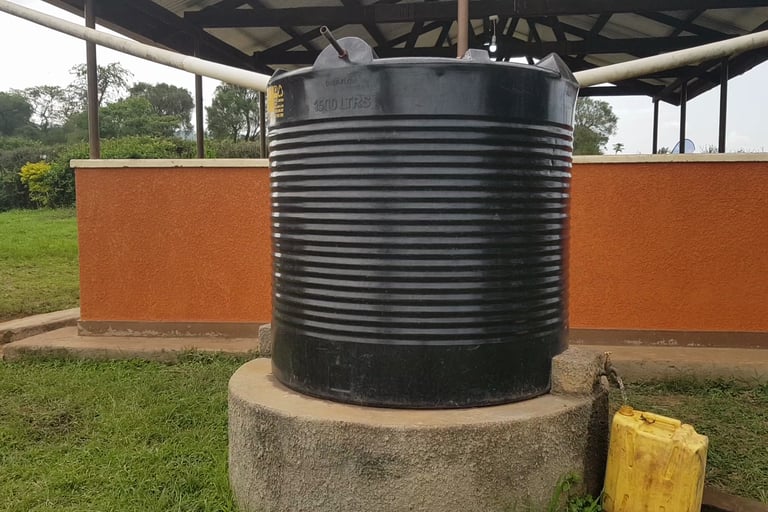
After the concrete has cured for at least 14 days, place the water tank on its new base. Ensure it's centred and stable before connecting any pipes or fittings.
Key Materials and Quantities for the Project
To summarise, here's a list of everything we used:
2.2 cubic meters of sand (1 full ELF tipper truck)
544 bricks
1.1 cubic meters of maram (half ELF truck)
9 bags of cement
1.1 cubic meters of aggregates (half ELF truck)
0.5 cubic meters of hardcore (quarter ELF truck)
Frequently Asked Questions
How do you calculate the size of the water, the pressure you need, and the tank stand?
The size of the watertank stand depends on the dimensions of your watertank and the load it will carry; for example, a 10000 L tank with a diameter of 2.4 m will have a stand that is 2.7 m in diameter with a cross wall in the middle and with a reinforced concrete slab where the tank will sit.
How high should the water tank stand be?
The height of the stand depends on the pressure you need but generally ranges from 0.8 m to 2 m or even higher. What matters is that the stand design strength is able to support the quantity of water in The tank: the higher the stand, the higher the water pressure for the distribution system.
Can I build a brick water tank stand without professional help?
Yes, a DIY approach is possible, though it is advisable to consult a professional structural engineer for large tanks to ensure that the stand is designed to handle the weight of the water safely.
How long should the stand cure before placing the tank? The concrete slab on top of the tank stand typically takes 21 days to gain strength, so I recommend waiting for at least 21 days to allow the cement in the concrete to fully set.
What are the benefits of using a brick watertank stand over steel or timber? Brick stands are durable and are resistant to corrosion, unlike steel, which is affected by corrosion or rust over time. Bricks are durable and long-lasting, unlike timber, which is prone to rot.
A brick stand is more affordable than a steel stand.
How much does it cost to build a brick water tank stand? The cost of a brick water tank stand ranges from 200 dollars to 1000 (usd) dollars depending on the size of the stand, labour, and materials used.
How do you prevent cracks in a brick water tank stand? To prevent cracks, be sure to cast a layer of reinforced concrete on top of the brick stand and a cross wall for additional support, and also place the tank after the stand has fully hardened and fully cured for at least 14-21 days.